пятница, 19 мая 2017 г.

Rolling Tool Box Cart Plans

rolling toolbox cart
Courtesy of the Family Handyman

Introduction

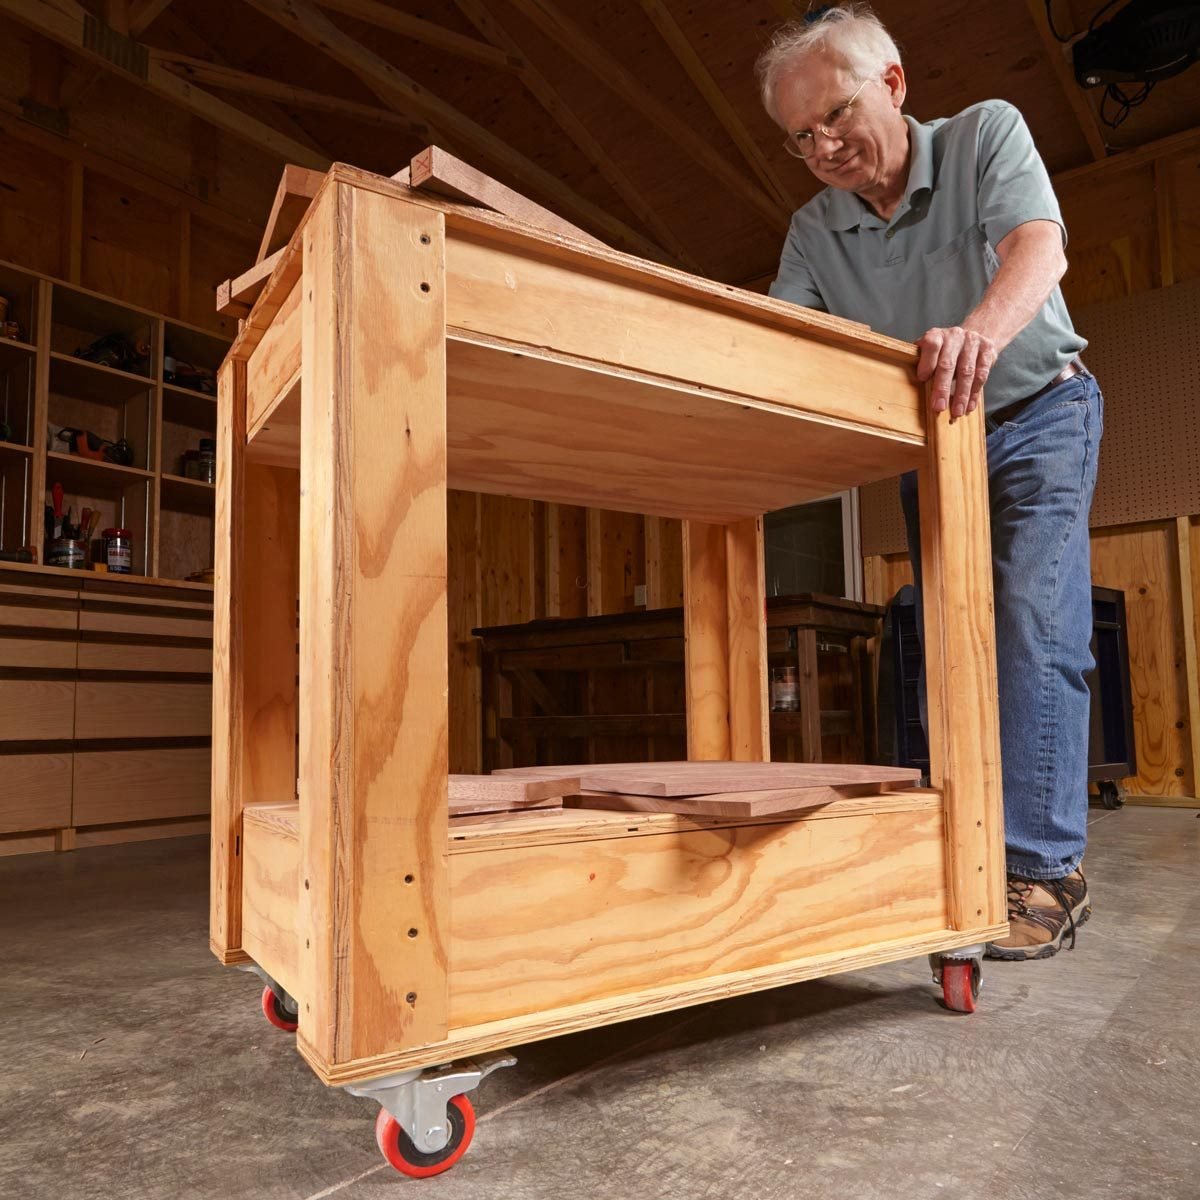
Build a simple rolling shop cart to transport heavy toolboxes and pieces of wood from one end of the shop to the other. All you need is a sheet of 3/4-in. plywood.

Tools Required

  1. Air compressor
  2. Air hose
  3. Brad nail gun
  4. Circular saw
  5. Clamps
  6. Cordless drill
  7. Countersink drill bit
  8. Framing square
  9. Hearing protection
  10. Miter saw
  11. Safety glasses
  12. Straightedge
  13. Table saw
  14. Wood glue

Getting Started

Whether your shop is big or small, it's sure handy to have a cart or two for moving stacks of parts from one machine to another. Carts make an endless journey around a shop, from planer to table saw to drill press to the sander, and on and on. They're never empty!

Constructing this cart is simple—all the parts are just glued and screwed or nailed together. You'll need one full sheet of 3/4-in. plywood and a box of 1-1/4-in. screws.

Plus, learn how to tame the clutter and work smarter with these ingenious (and inexpensive!) workshop storage tips you can DIY.

cutting digram rolling toolbox cart
Setup Tips The blade setup determines how deep the pins and sockets are on your joint. Box joints look best when they are cut to match the thickness of your stock. Make a test joint before cutting into the material you plan on using for your enclosure. Your jig will likely have to be fine-tuned after its initial setup. Using a framing square, check that the blade is 90-degrees to the tabletop and 90-degrees to the miter gauge sled. If the joint is too loose, the pins are too small, so make the space between the blade and the peg bigger by sliding the jig along the fence, moving the peg away from the blade. If the joint is too tight, make the pins smaller by sliding the jig to move the peg closer to the blade. Building the box jig Before you start, be sure all your parts are cut to size and then swap your table saw blade to a correctly-sized dado stack. This includes trimming the square stock to the exact same width as the dado stack for the peg. This post is written for 1/2-in. x 1/2-in. notches in 1/2-in. thick stock. With the miter gauges in the miter slots, fasten the fence through the back of the miter gauges with 1-1/4-in. screws to make a sled. Clamp the second piece of plywood flat against the fence and push this setup through the dado blade. Unclamp the piece of plywood and glue a 2-in. length of 1/2-in. square stock (remember to match to your specific dimension) into the cut you just made. Create a space between the peg and the blade using the remainder of the 1/2-in. stock; this makes the pins and sockets the same size. Clamp the jig to the miter gauge sled. Making the cuts With the jig adjusted, make a test joint to check the fit. The initial adjustment may need to be dialed in to get the fit nice and snug. If the joint is loose, the pins are too small (slide the peg away from the blade). If they don't fit, they are too big (slide the toward the
crosscut tip for table saw

Original article and pictures take http://www.familyhandyman.com/workshop/workbench/rolling-tool-box-cart-plans/view-all site

Комментариев нет:

Отправить комментарий